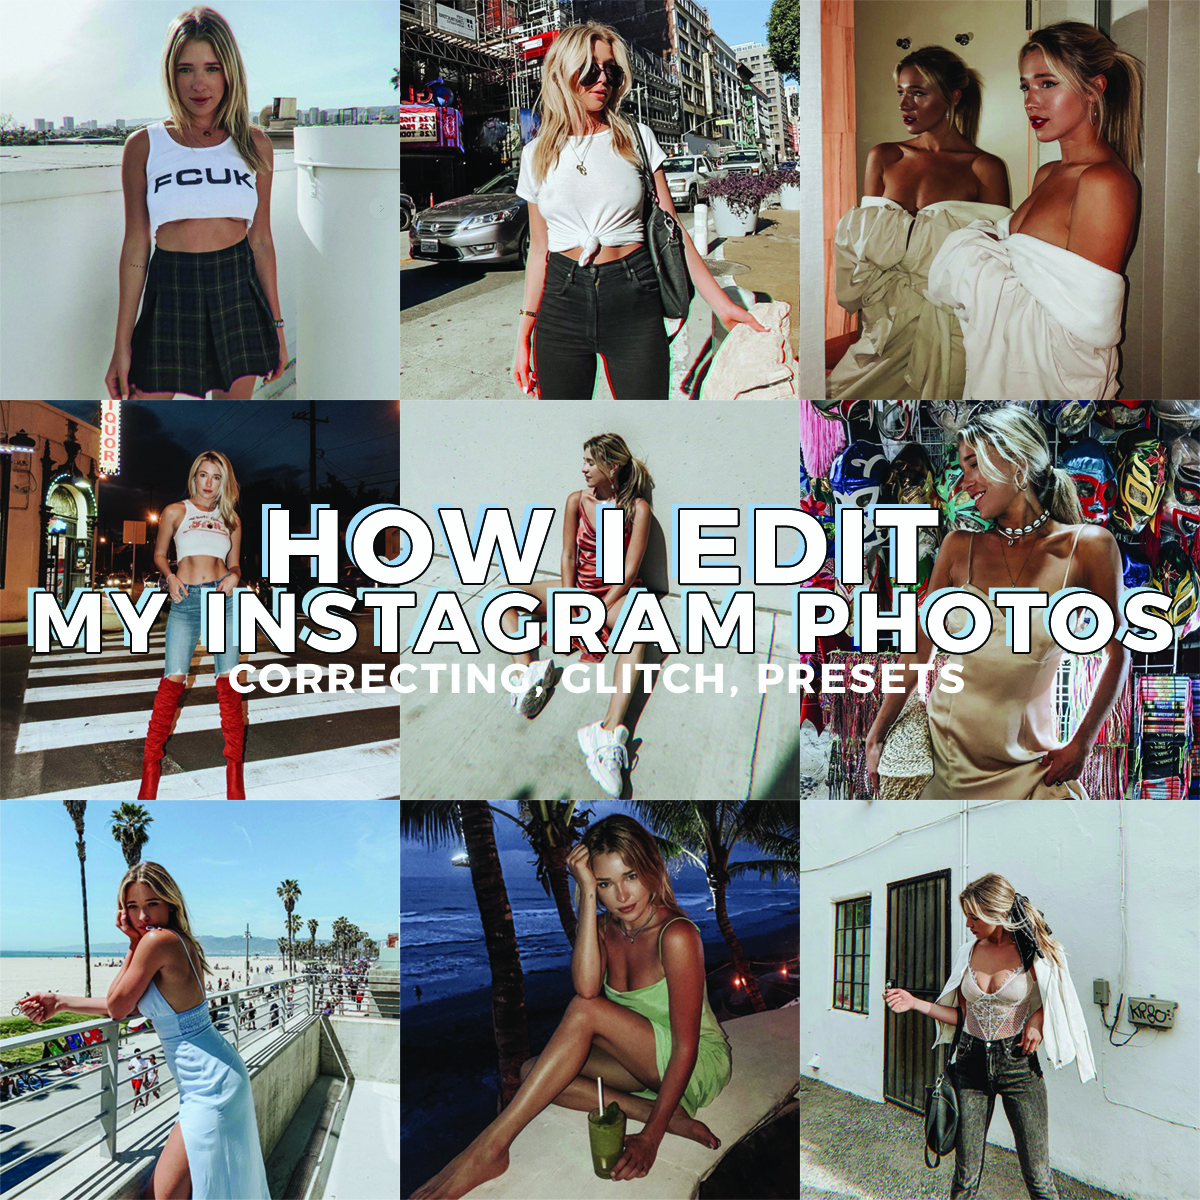
One of the questions I get the most ( via Instagram DM ) is how exactly I edit my everyday photos, as well as specific questions about the apps I use to get grains, glitches & dust.
Today, I’m sharing with y’all my EXACT editing formula, along with additional apps I use to spice things up now and again.
We’re conquering the monster that is editing images for Instagram in a somewhat-consistent-but-still-edgy manner. Kk?
Apps I Use for Every Photo
Facetune:
I use Facetune for a NUMBER of photo fixes, from bringing up details to whitening the the whites of my eyes ( LOL– a KEY when allergy szn hits ).
There are a couple tools on Facetune that people can really go over-board using, which gives this app a bad name, in my opinion: the refine tool & the smooth tool.
As a rule of thumb, I don’t use any refining tool to make myself look thinner/more fit, because that just feels WRONG, ya know? Plus, the thought of getting caught correcting my body ( have y’all seen those HORRIBLE photoshop fails where the background is all fucked up and the image has CLEARLY been tampered with ) is truly a nightmare of mine. EMBARRASSING.
I do, however, use the smooth tool to even out under-eye bags & skin discoloration, but I make sure to do this lightly & sparingly. Don’t smooth out your entire face, obviously. Its a good sign when I can still see pores & peach fuzz, but have covered larger, red blemishes.
The next thing I do is whiten the whites of my eyes with the whitening tool. LOL– say that 5x fast. My eyes tend to be bloodshot ( hi I am allergic to everything & also sometimes drunk ), so this makes a big difference in my looking awake.
Lastly, I DETAIL. I detail lashes, brows, freckles, my mole, outfits, muscle lines. I’ll detail the background if its particularly pretty. But, like with the smoothing tool, less is more. This tool helps make details POP, but can go from flattering to fake-looking real quick.
Lightroom:
I ALWAYS use Claire’s presets to edit my photos in Lightroom mobile. I go through phases, but here Everyday Preset is what I’m loving right now. You can find her mobile preset pack ( + how to install them ) here.
I use this preset on EVERYTHING. It doesn’t matter if the photo was taken in natural light or using flash, I always start by applying the Everyday Preset.
Then, I play around with the lighting + colors to suit what I’m going for. I usually take down the exposure ( because initially applying this preset makes the majority of my photos over-exposed ) and mess with the highlights/shadows.
Then I move on to editing color. To edit specific colors, I click the MIX section under the “color” tab in Lightroom mobile. I usually only change the saturation and luminance of each photo. Specifically, I’ll bring down the luminance of the orange colors ( to make my skin more tan ), as well as the saturation. I’ll usually do the same with reds. & then, I bring up the luminance of yellows to make the photo appear more clean ( this basically whitens the yellows, including the color of my hair! ).
Other Apps I Use for Doctoring/Stylizing
Snapseed:
Snapseed is GREAT for when you have shadows or darkness in areas of the photo and want to lighten those areas specifically, without lightening the rest of the photo.
I do this using the “selective” tool. You can increase or decrease the radius of an area you’ve selected and change the brightness, contrast, saturation & structure of the area. NEAT.
Polarr:
I’ve been using this app for the glitch effect I’ve been using on my photos as of late. You can change the intensity of this effect & the color easily.
I also like POLARR’s grain effect!
VSCO:
A classic. Before I started using the preset I use in Lightroom mobile, I swore by VSCO. Most of my blogger friends still prefer VSCO to Lightroom.
I recently discovered that you can find VSCO “formulas” for all types of curated aesthetics on Pinterest. I started a board ( here ) & have played around with a few formulas lately. It’s always fun to switch things up every now and then.
I also like VSCO for adding grain & for changing the Y-skew ( if the photo is shot from an angle that’s too high, dwarfing my legs! ) of a photo to make the angle look right!
Afterlight:
Afterlight has good dusty overlays, as well as various light leaks, if you’re into that!
Glitché:
This is the app I used to get the glitch effect ( hence the name ) before I discovered Polarr. Also, instead of applying to effect to the whole photo, Glitche allows you to target specific areas of the photo that you want to be stylized.
Glitche is a less-intuitive app in terms of the user experience, but I got the hang of it after playing around with it for awhile. It’s all trial & error.
I’m always on the lookout for new apps with unique editing styles/filters! I’ll start a conversation about various photo-editing apps in the secret Facebook group today!
Lets share some knowledge.
I hope this was helpful! Love y’all.
I love this blog post. So informative.